Photo by: Kurt Wiegand
Baklava is one of those delicious desserts that looks almost too good to eat and certainly too difficult to make at home. But with a little help from frozen phyllo dough and our gorgeous American Acacia honey, you'll wow your family and friends with a dessert that's good enough to make them lick their plates and clamor for more - all for only a reasonable amount of effort!
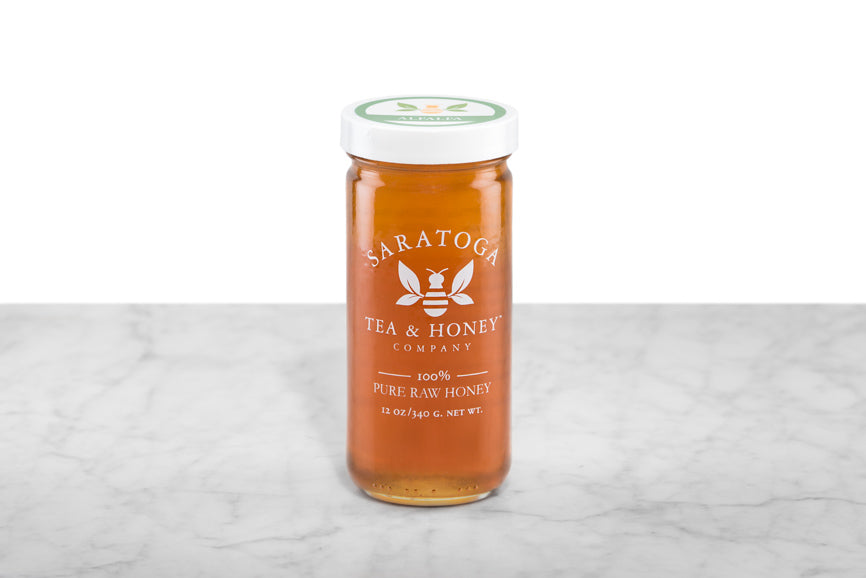
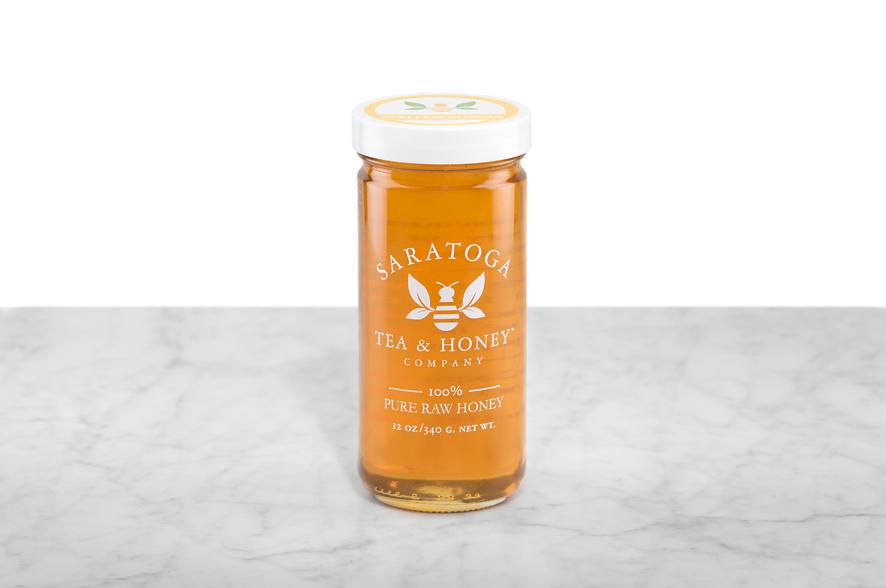
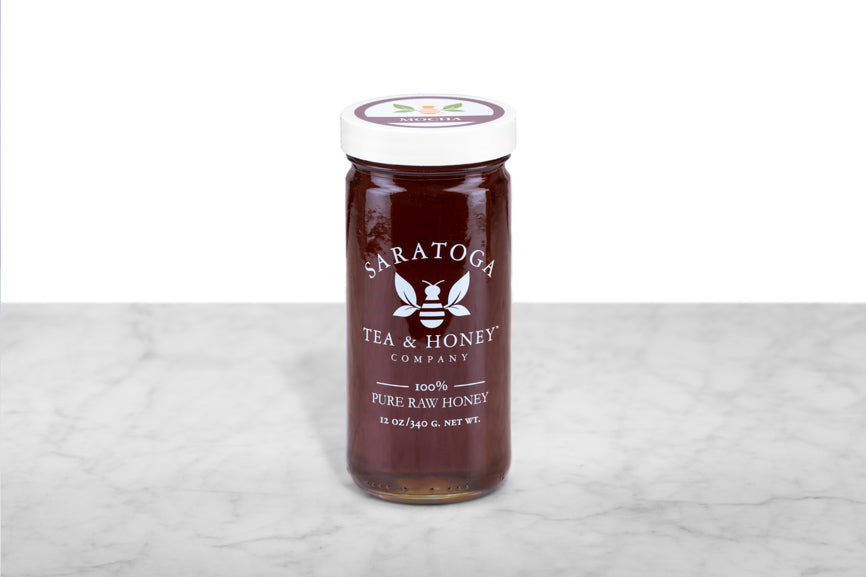
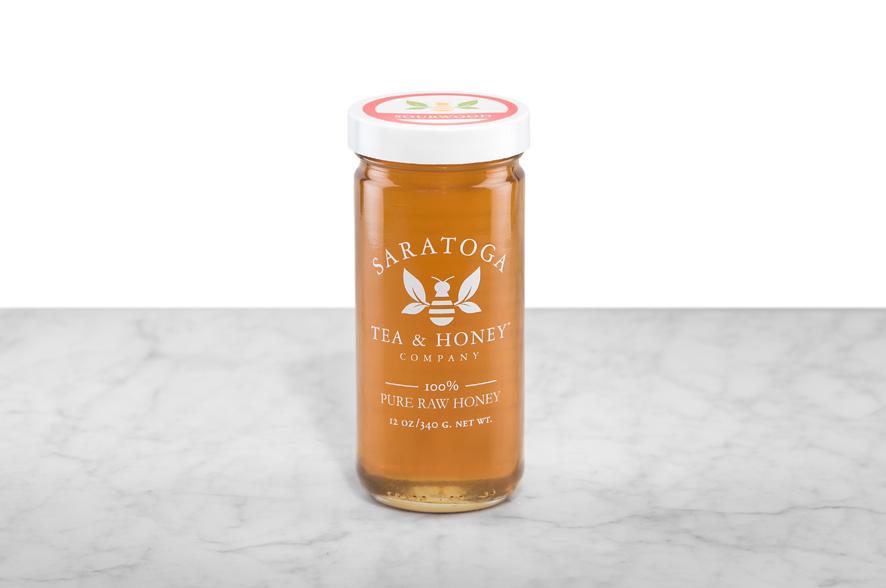
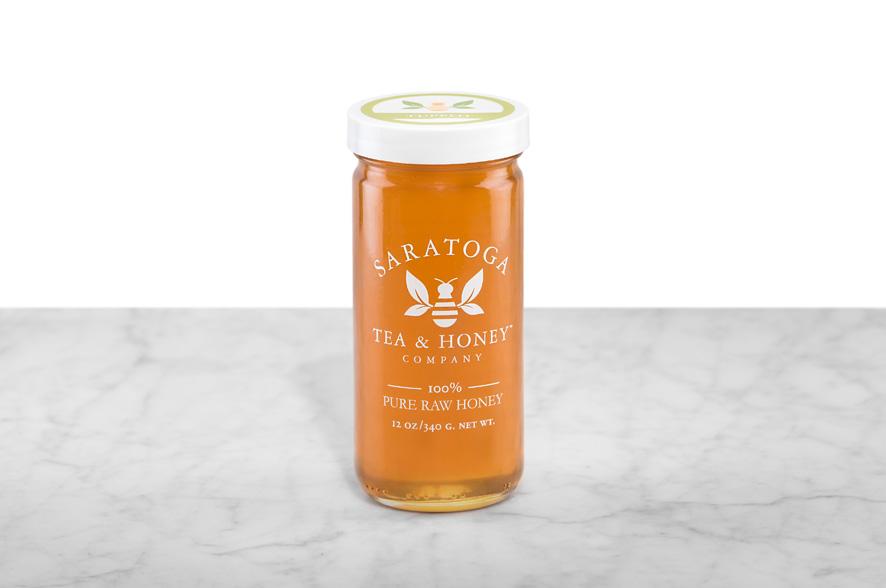
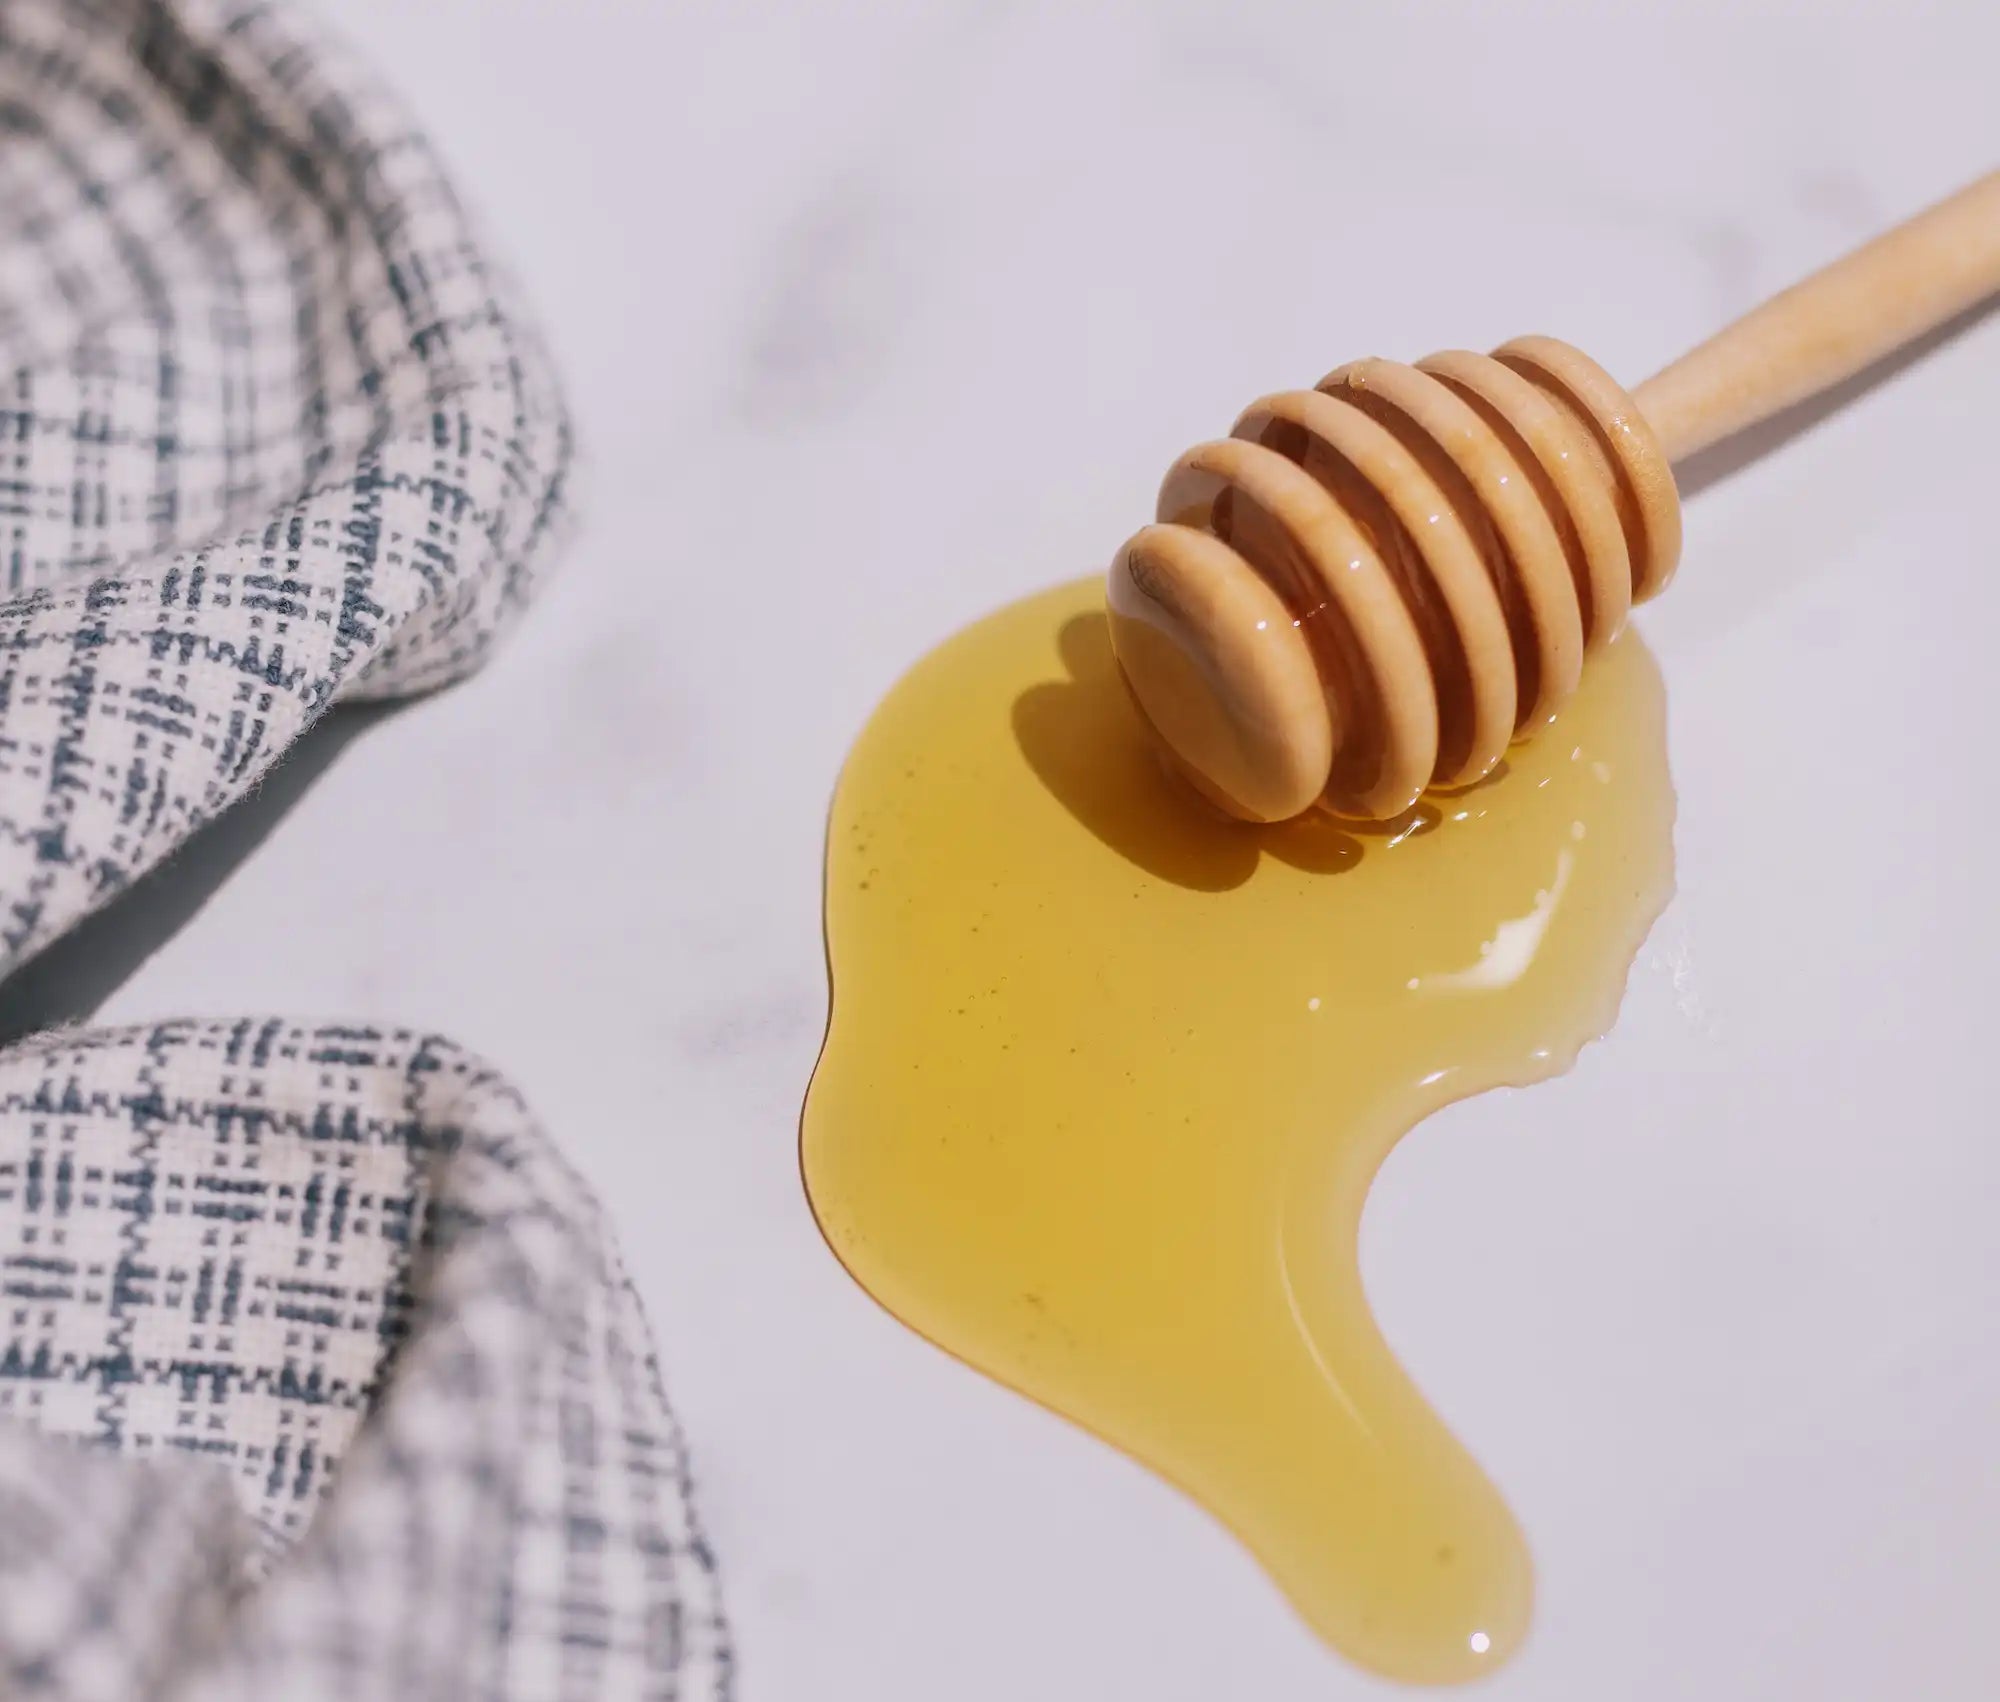
We chose to make this baklava with our American Acacia honey because acacia honey is a light honey, yet rich in flavor - just like baklava. This honey pairs particularly well with the bright flavor of pistachio and rich warmth of walnut to create a baklava that's just the right balance between delicate and substantive.
Saratoga Tea & Honey's Baklava Recipe
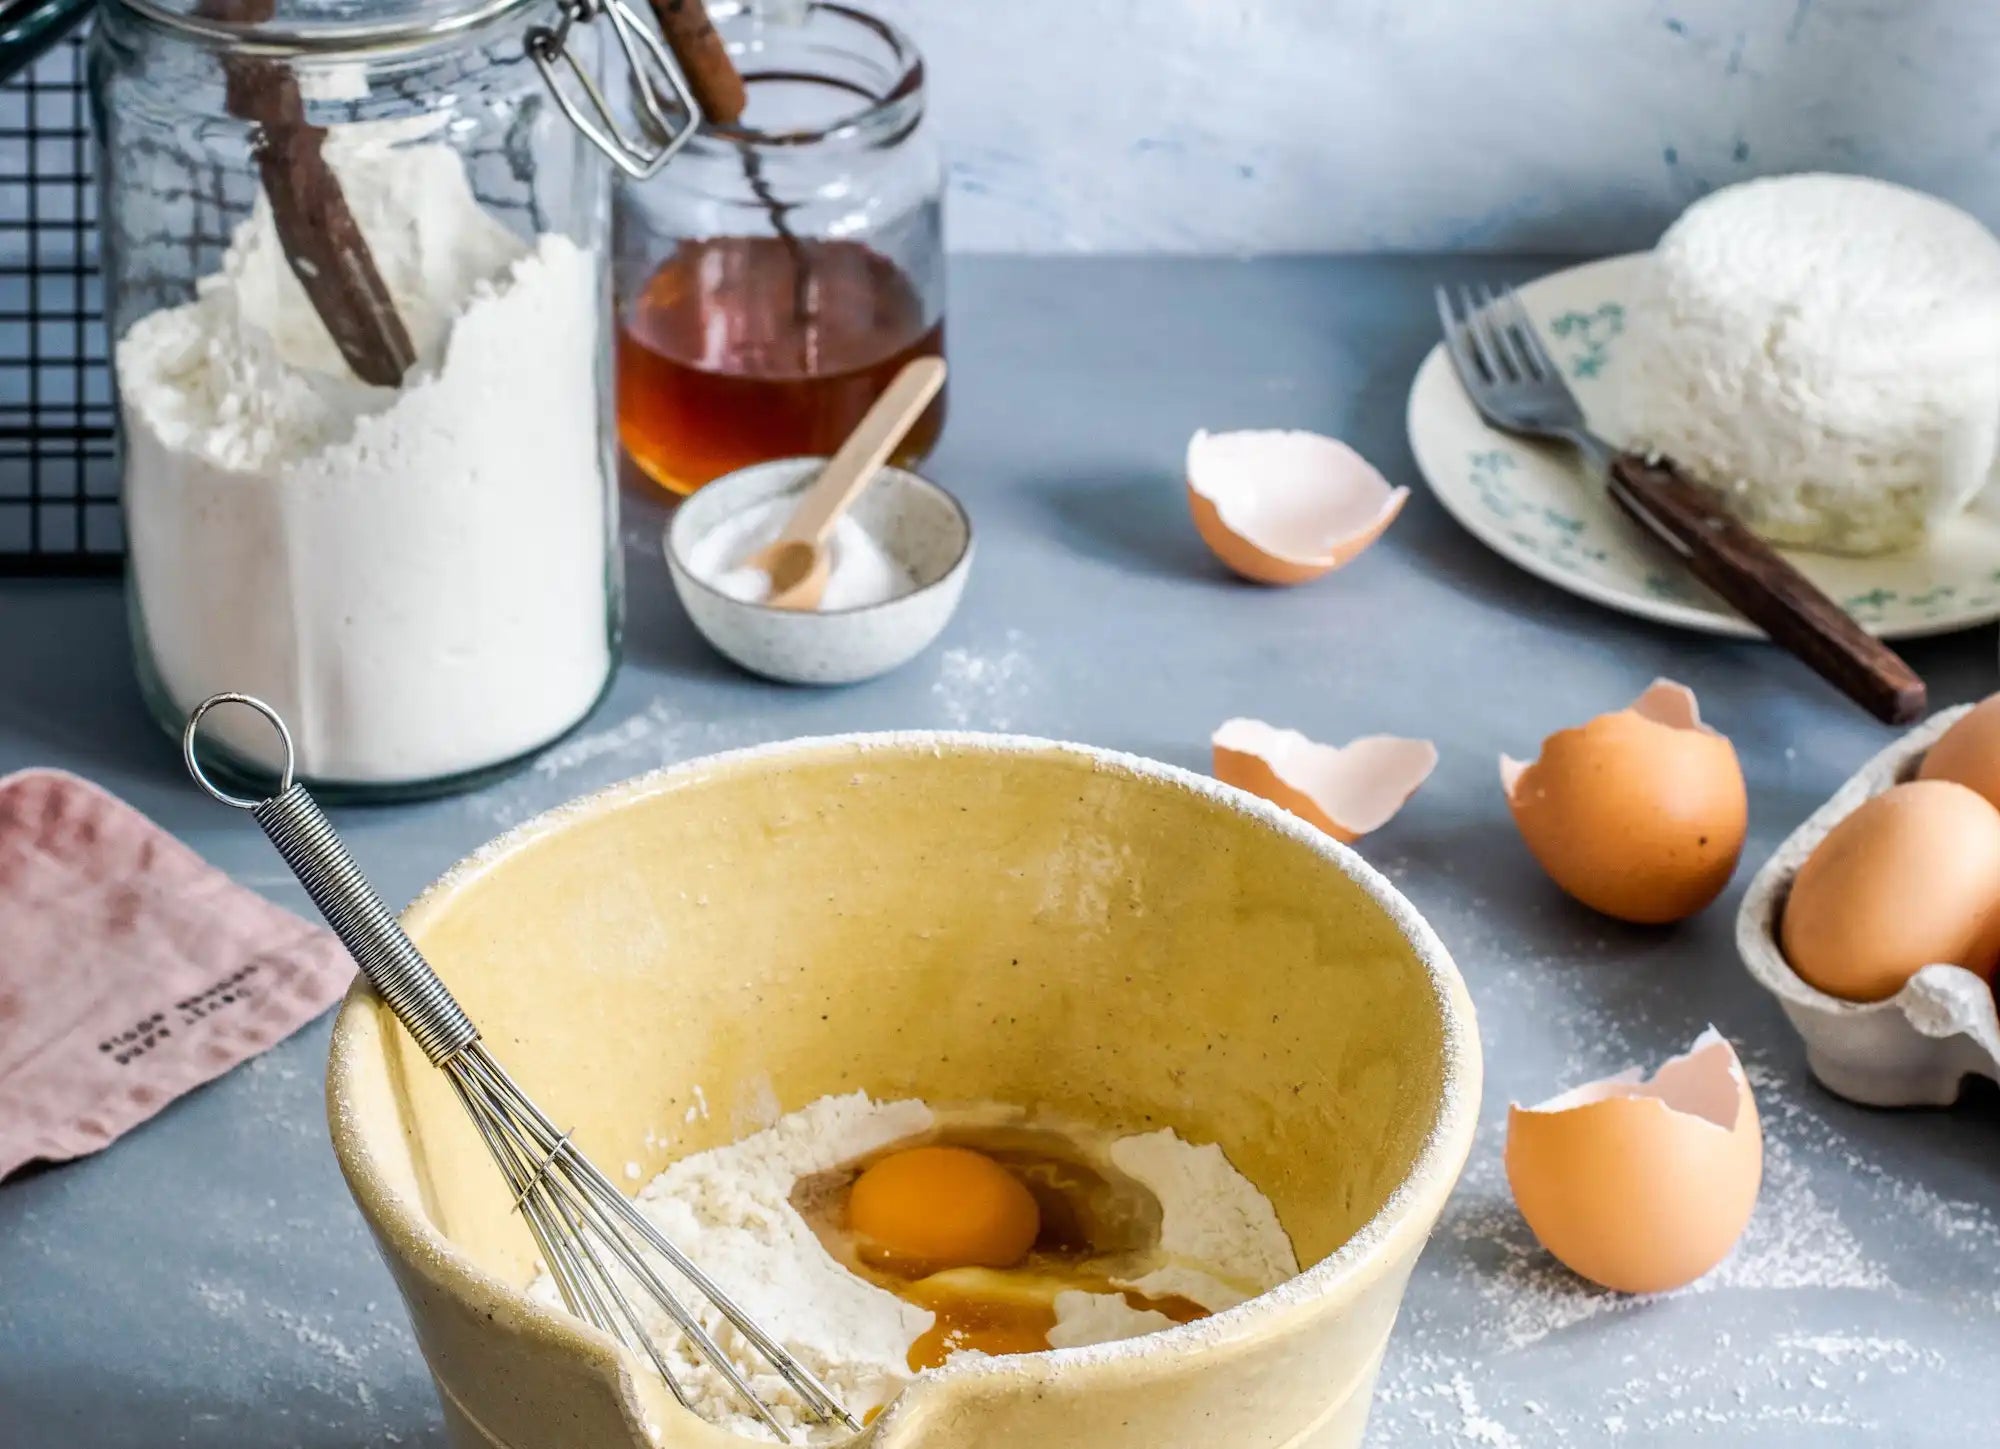
Ingredients for Pistachio & Acacia Honey Baklava
For the Honey Syrup:
- 1 cup granulated sugar
- 1 cup warm water
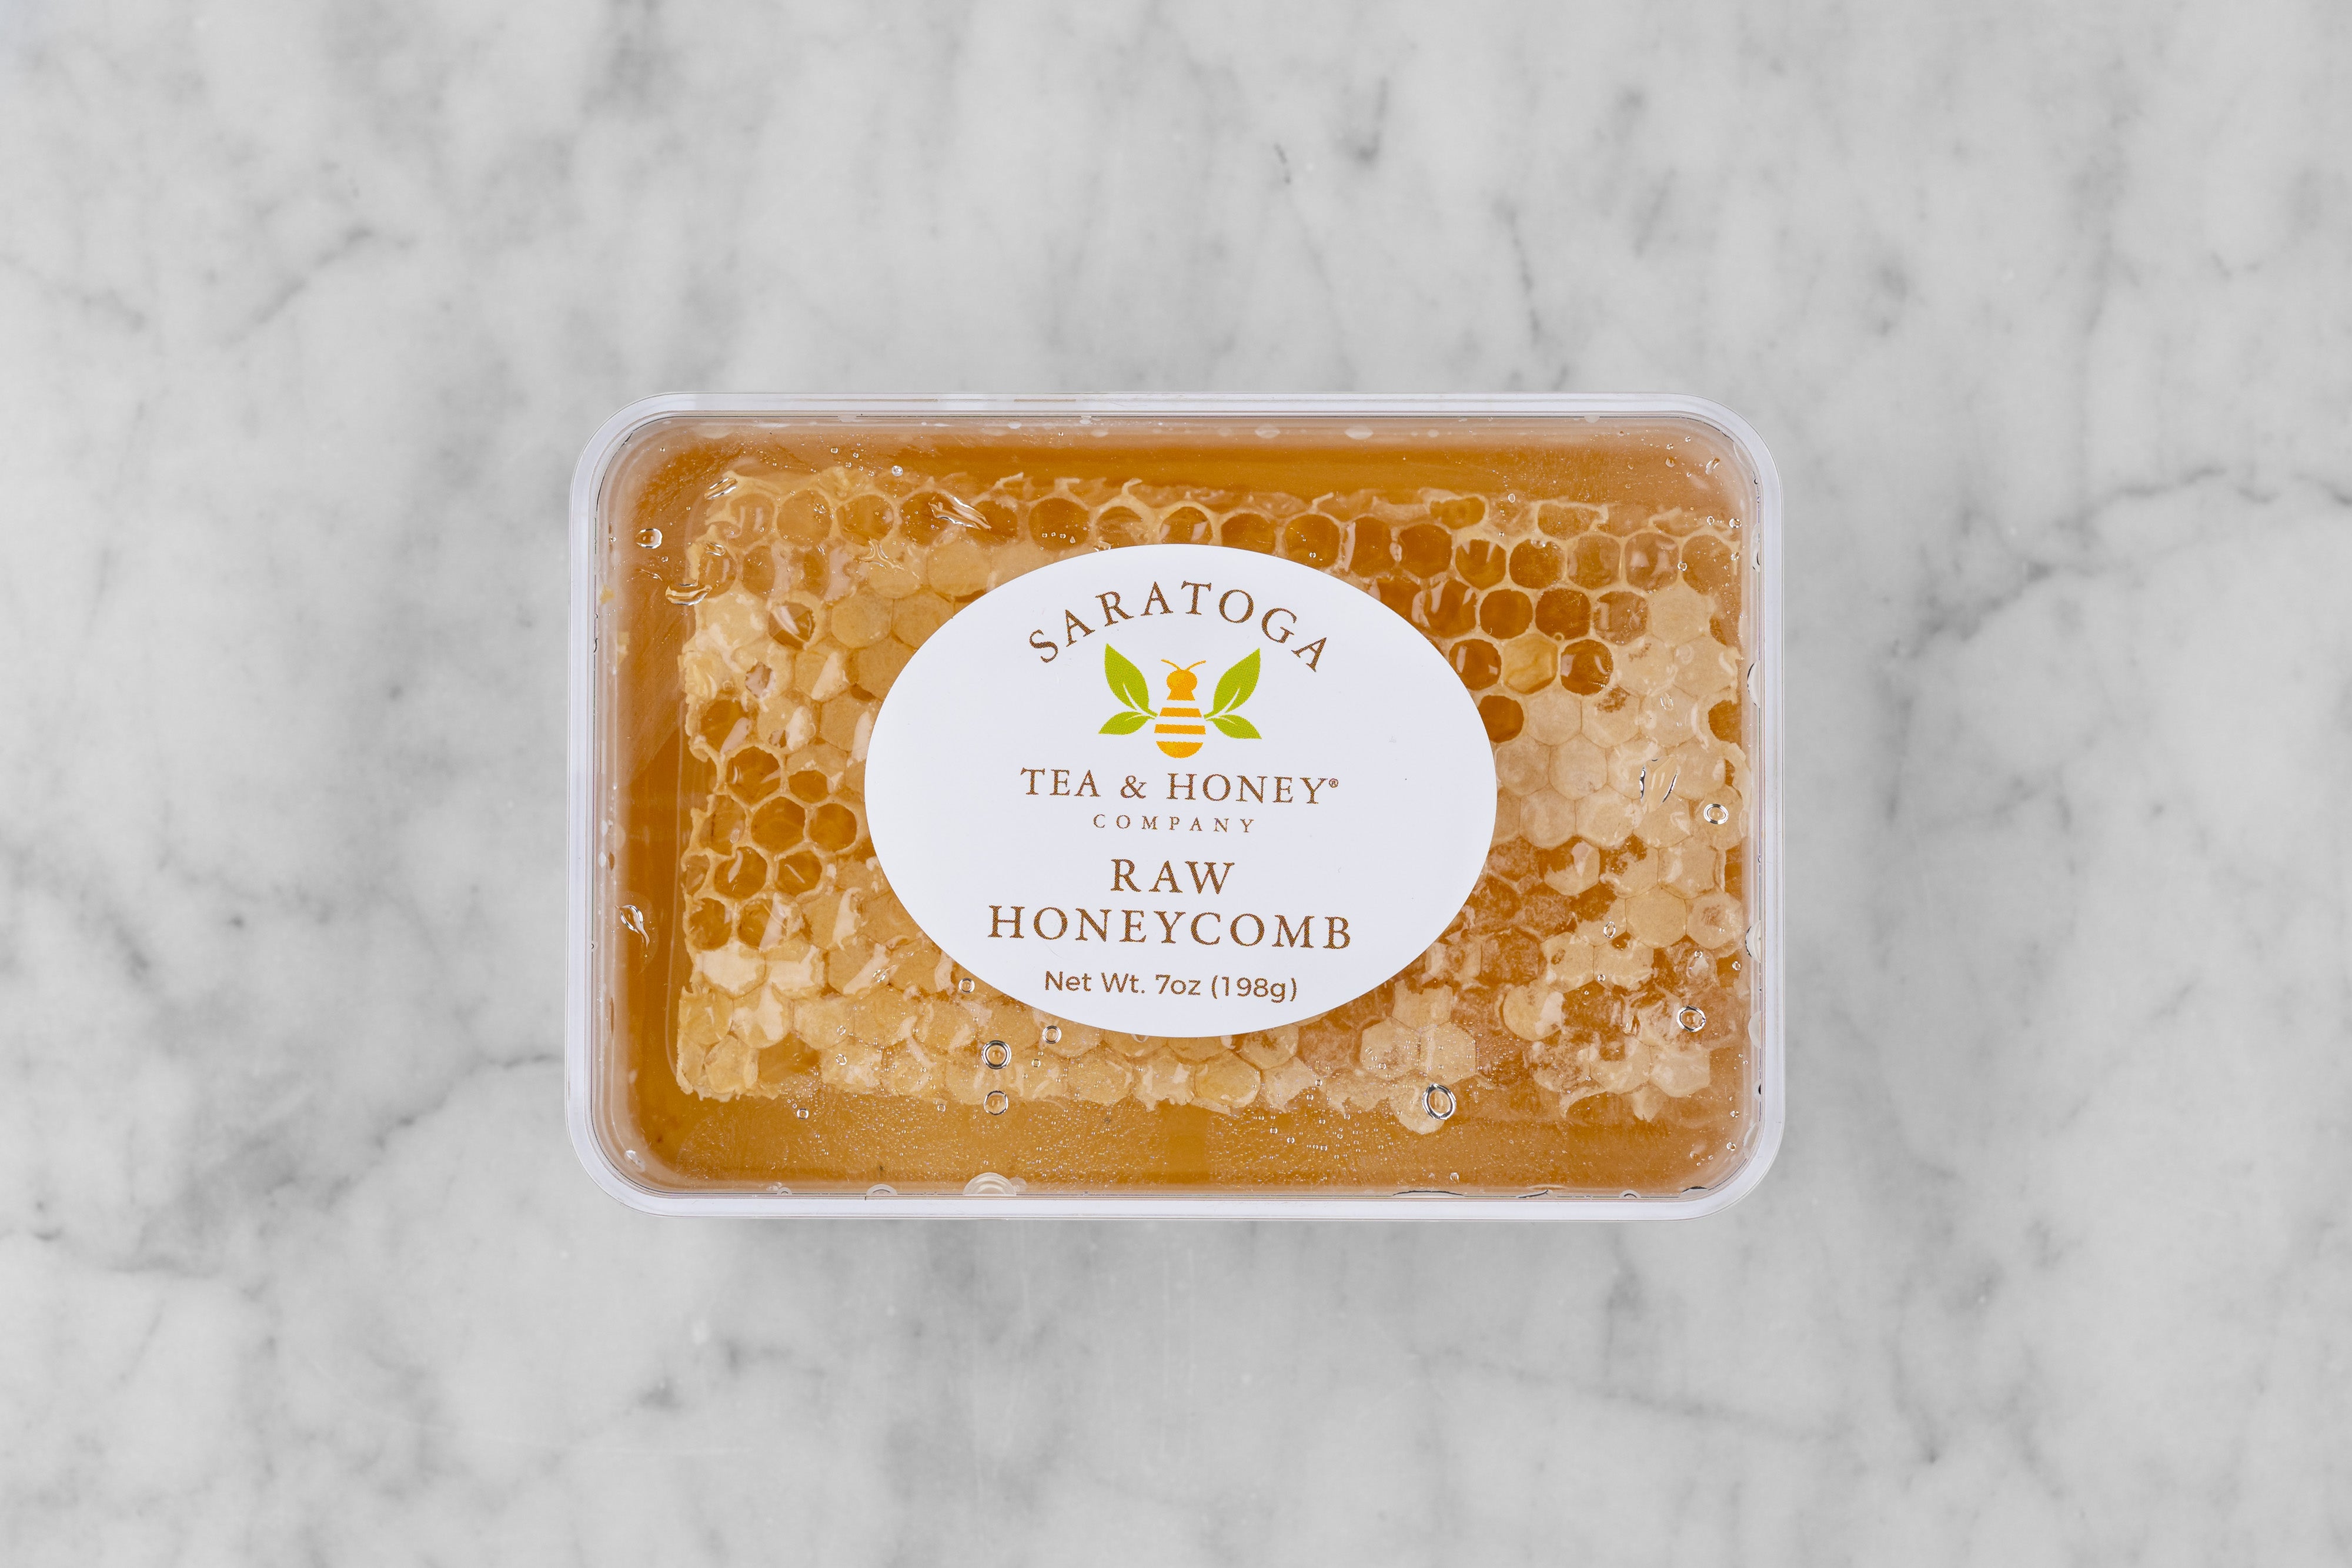
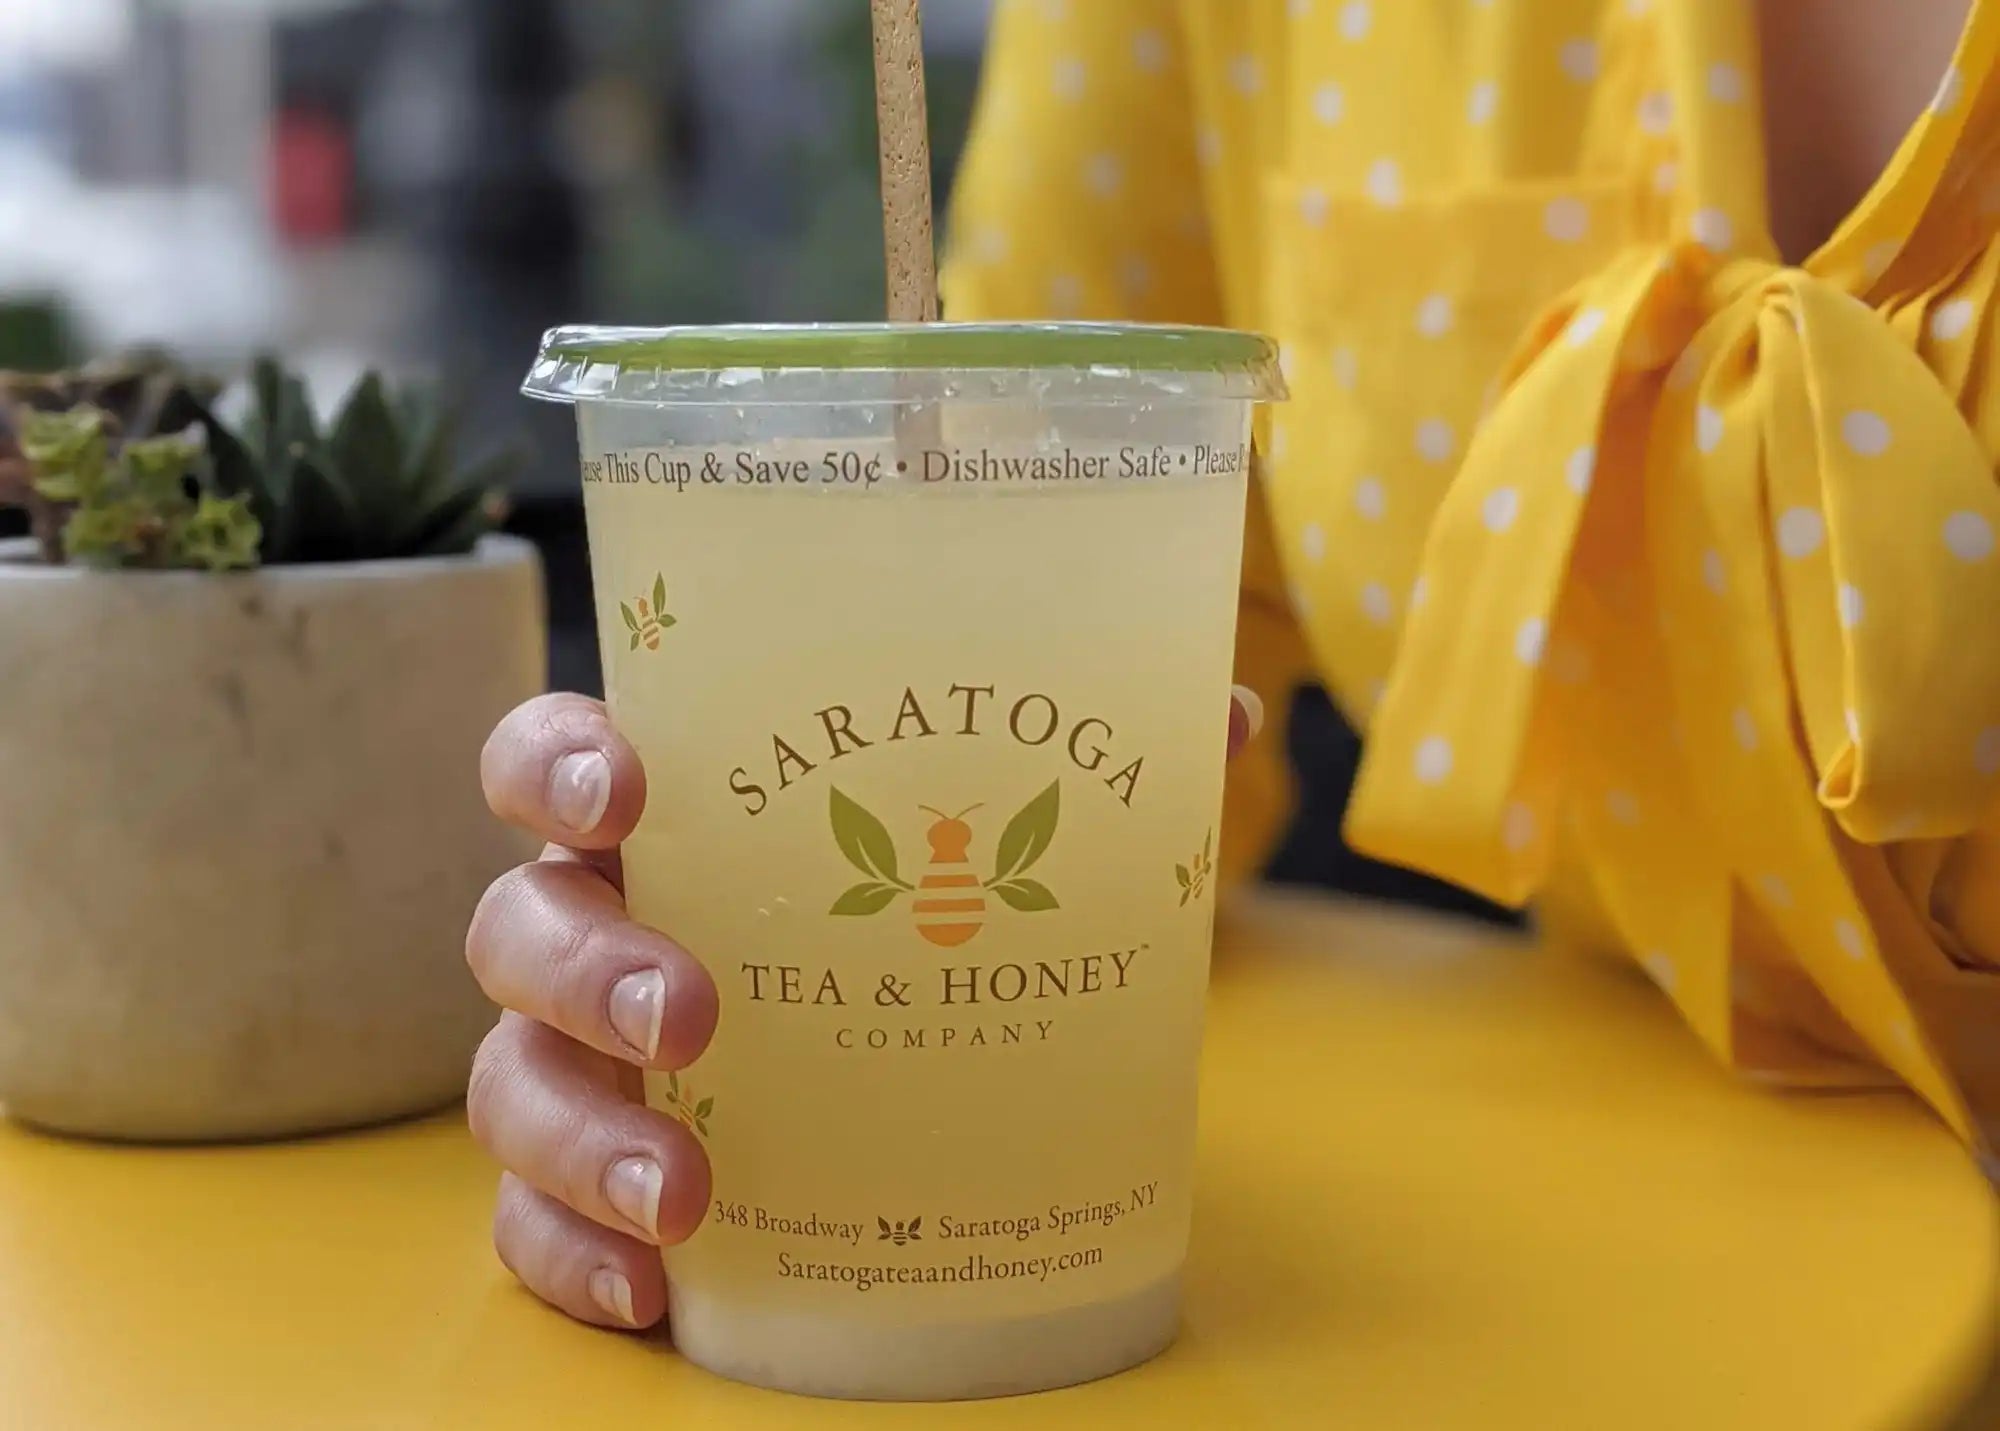
- 1 cup of our American Acacia honey
- 2 tablespoons fresh lemon juice
- 1/4 teaspoon salt
For the Nut Filling:
- 12 ounces pistachios unsalted and shelled
- 12 ounces walnut halves unsalted
- 2 teaspoons granulated sugar
- 2 teaspoons cinnamon
- 1/8 teaspoon salt
For the Pastry Layers:
- 1 ½ cups butter (3 sticks) melted and slightly cooled
- 1 pound of frozen phyllo dough, thawed
Making Your Baklava:
To make the Honey Syrup:
- Combine all of the ingredients in a deep medium saucepan. I suggest pouring a bit of the warm water into your honey jar to release what is stuck to the sides.
- Bring the mixture to a boil over medium high heat stirring occasionally until the sugar is dissolved.
- Reduce to medium low and let it simmer without stirring for 5 minutes.
- Remove the saucepan from the heat and allow to cool slightly.
- Pour the mixture into a measuring cup with a spout and let it cool completely. This honey syrup can be kept covered in the fridge for up to 5 days.
To prepare the Nut Filling:
- Pulse the pistachios in a food processor until very finely chopped, about 10-15 1 second pulses. Repeat with the walnuts and pour together in a bowl.
(Make sure you don’t over chop the nuts; a little bit of crunchy texture is what you’re looking for.)
- Add the cinnamon, sugar, and salt to the nuts and mix well.
To prepare for assembling the baklava:
- Preheat your oven to 300° F with tray in a middle to low position.
- Brush a 10-inch baking pan with melted butter and set aside.
- Unfold the phyllo onto a cutting board and flatten it with your hands, you will need about 30 sheets of phyllo total.
- Use your pan as a guide to cut the exact circle using a sharp chef’s knife, you may have to patch your phyllo to fit the pan.
- When you are not directly touching your phyllo, cover it with plastic wrap and a damp kitchen towel to prevent it from drying out on the counter or cutting board.
To assemble the baklava:
Before assembling your baklava, I suggest that you keep a sheet of scrap paper to track your progress. Write down your own breakdown and keep a tally of how many layers you’ve placed, even the most skilled bakers forget how many layers of phyllo they’ve done!
Here is the breakdown that I used:
- 8 sheets of phyllo
- 1/3 of the nut mixture (about 1 and 2/3 cups)
- 6 sheets of phyllo
- ½ of the remaining nut mixture (about 1 and 2/3 cups)
- 6 sheets of phyllo
- 1 and 2/3 cups of the remaining nut mixture
- 8-10 sheets of phyllo
Assembly:
- Place one sheet of phyllo in the bottom of the pan and brush with melted butter, repeat this step 7 more times. Push out any air pockets with your brush.
- Distribute 1/3 of the nut mixture onto the top layer and gently cover with another sheet of phyllo. Pour a little bit of melted butter on the phyllo and lightly dab to spread it around.
- Add 5 more sheets of phyllo, and layer with butter every time.
- Layer ½ of the remaining nut mixture and repeat step 3.
- Add most of the remaining nuts, leaving about 2 tablespoons to garnish the finished baklava. Continue layering the phyllo dough and butter, finishing the stack with 8-10 sheets. Do not put butter on the top layer.
- Use your palms to press lightly on the surface of the baklava and compress the layers working from the middle out.
- Spoon about 4 tablespoons of butter on the top and brush to cover the entire surface.
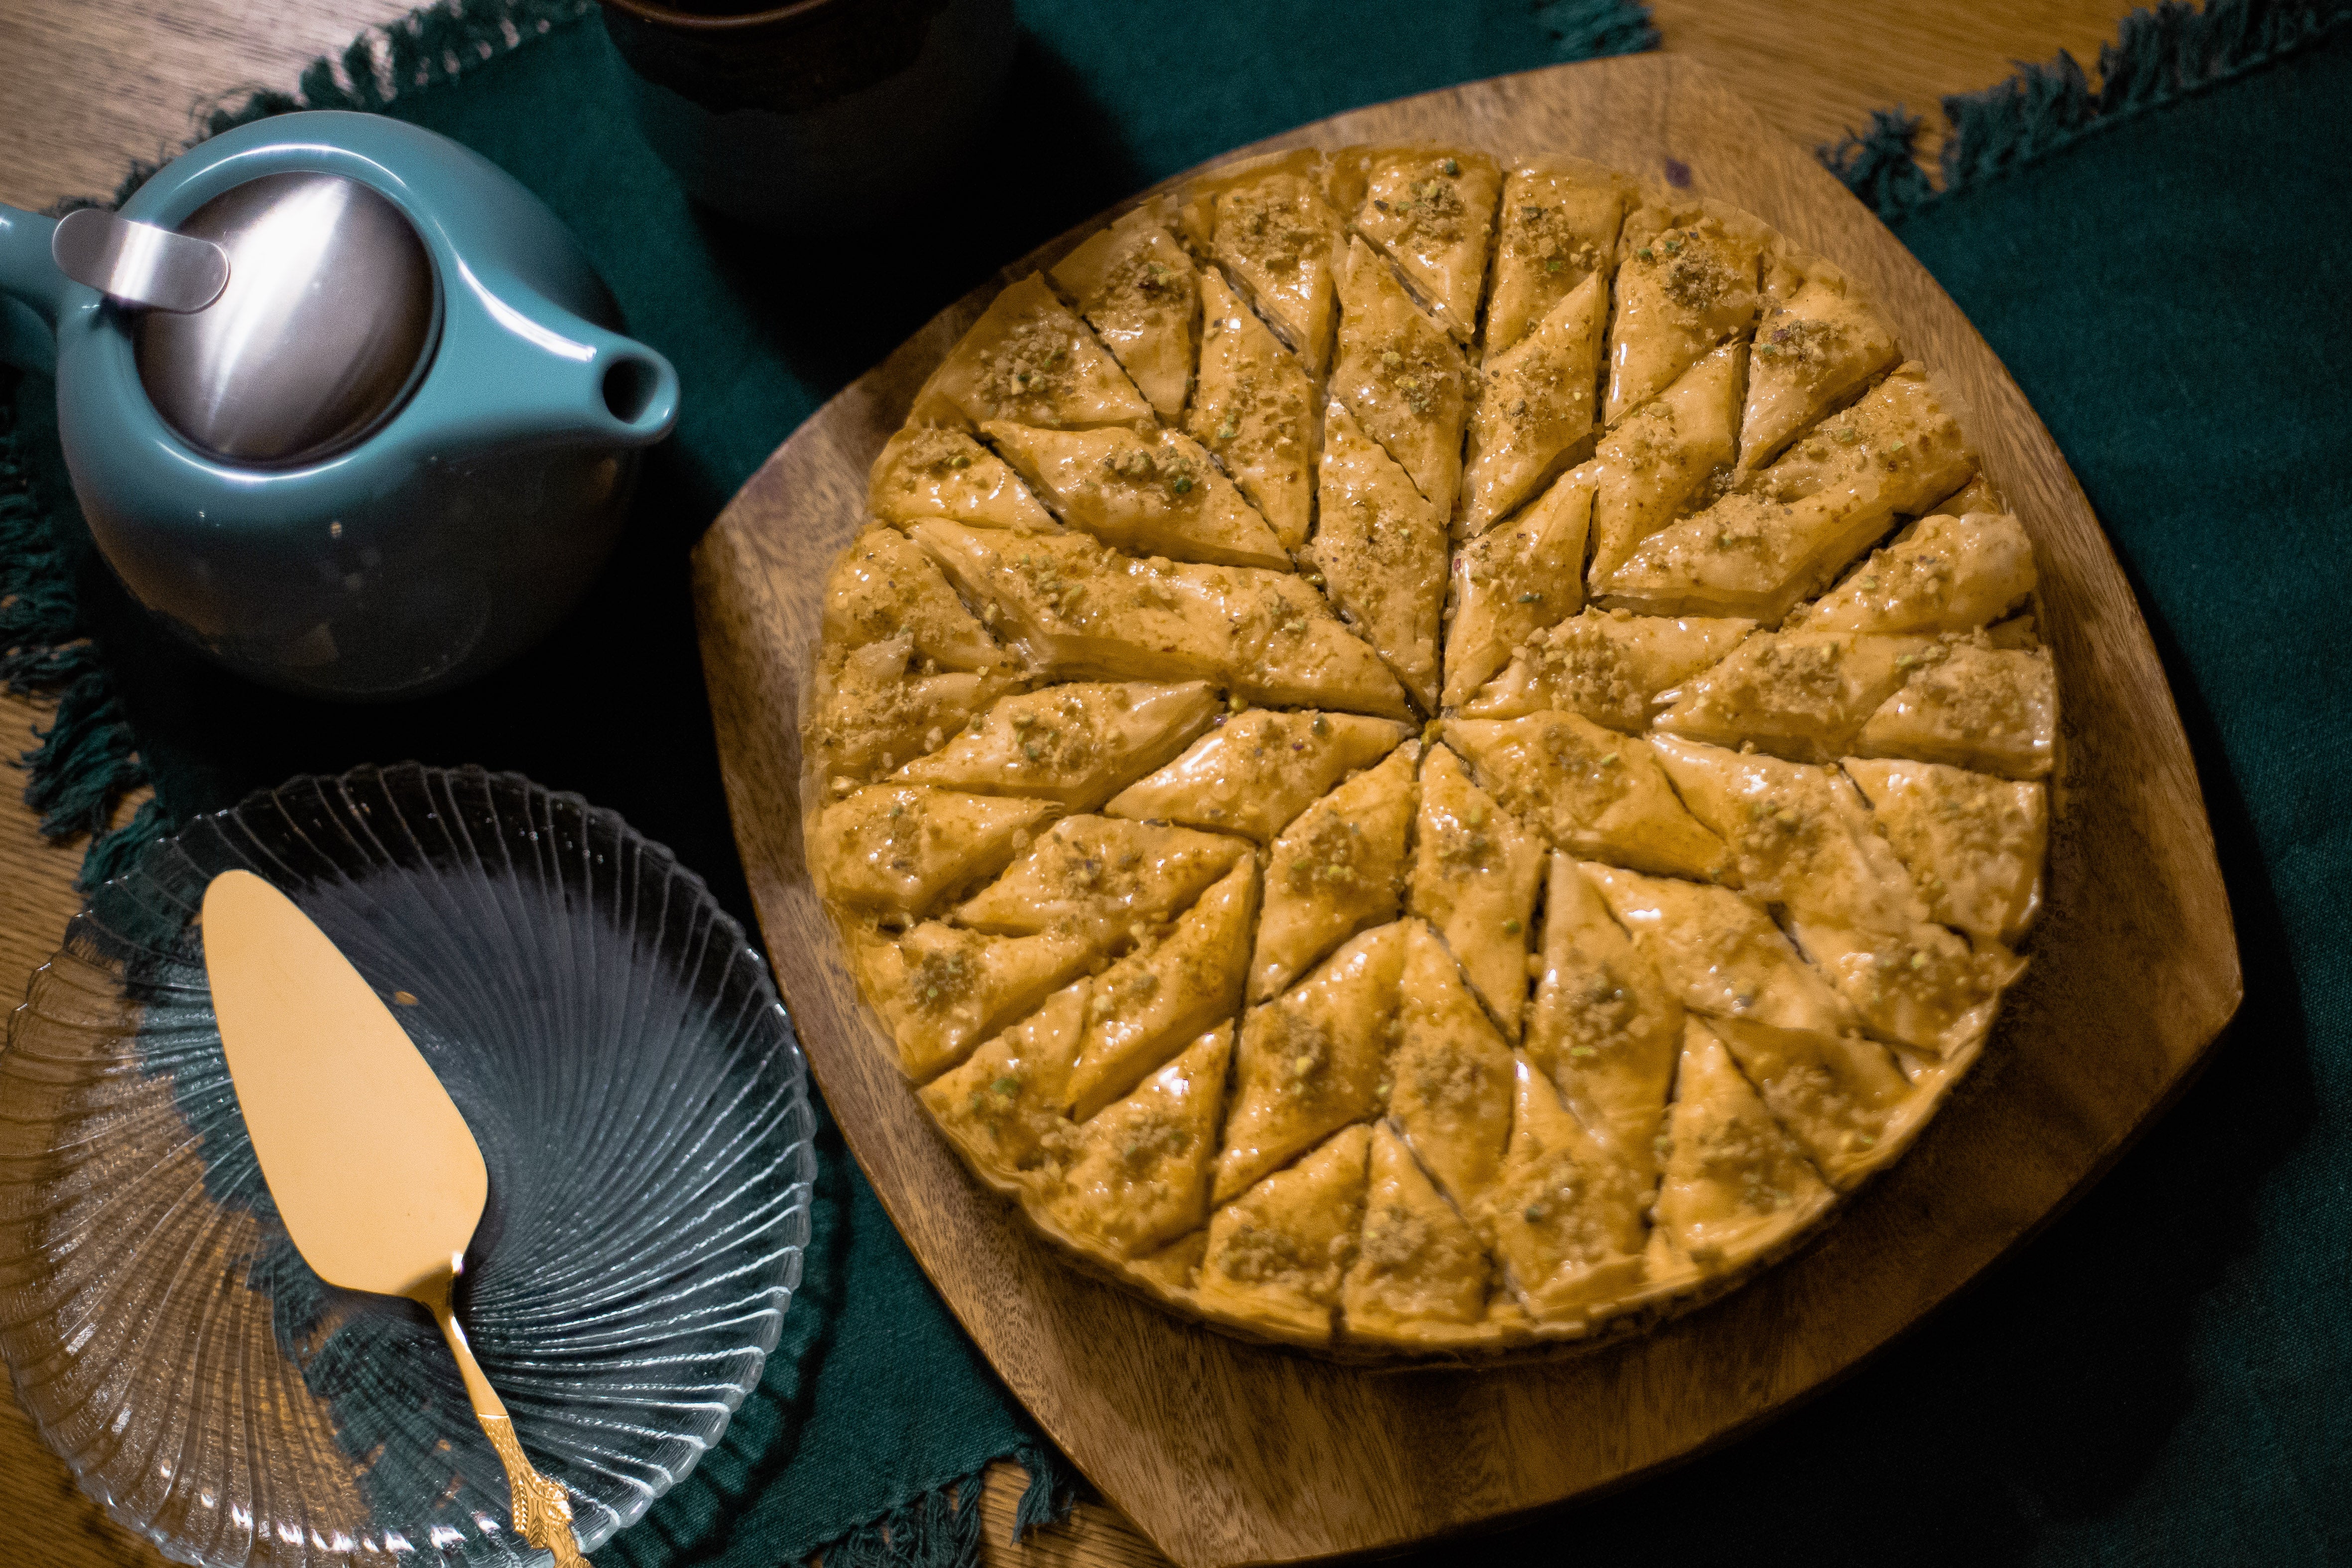
All of this hard work will pay off, I promise! Each layer of phyllo and butter creates beautiful lamination and visible flaky layers. If you use a springform pan, like I did, you'll be able to remove the sides of the pan and get a good look at your handy work when it is cooled and ready to be served.

Photo by: Kurt Wiegand
Cutting the baklava:
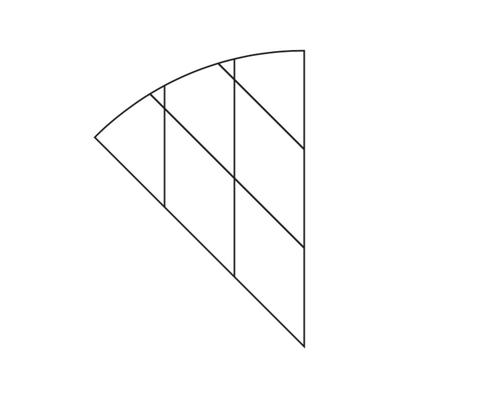
- Using a sharp chef’s knife cut the baklava into 4 equal wedges and then in half again, making 8 equal wedges.
- Cut 2 parallel lines across the wedge beginning at the top, and then do the same to the opposite side of the wedge.
- Repeat step 2 for each wedge until the diamond pattern is achieved. If this is too complicated or you prefer a different appearance, you can also cut your baklava into a grid.
I suggest consulting reference photos and practicing this design on a piece of paper before cutting as it is fairly complicated.
Each wedge should look like this when cut.
Bake and Serve:
- Bake until golden and crispy, about 1 and ½ hours rotating the pan halfway through to bake evenly.
- Immediately after removing the baklava from the oven, slowly pour the cooled honey syrup over your cut lines until only ½ cup remains.
- Drizzle the remaining ½ cup of syrup on the top and sprinkle each piece with the remaining nut mixture.
- Let it cool to room temperature for about 4 hours and cover with foil.
- Let your baklava stand at room temperature for 8 hours for the best flavor.
Baklava can be wrapped tightly in foil and kept at room temperature for up to 10 days, but I highly doubt it will last that long!